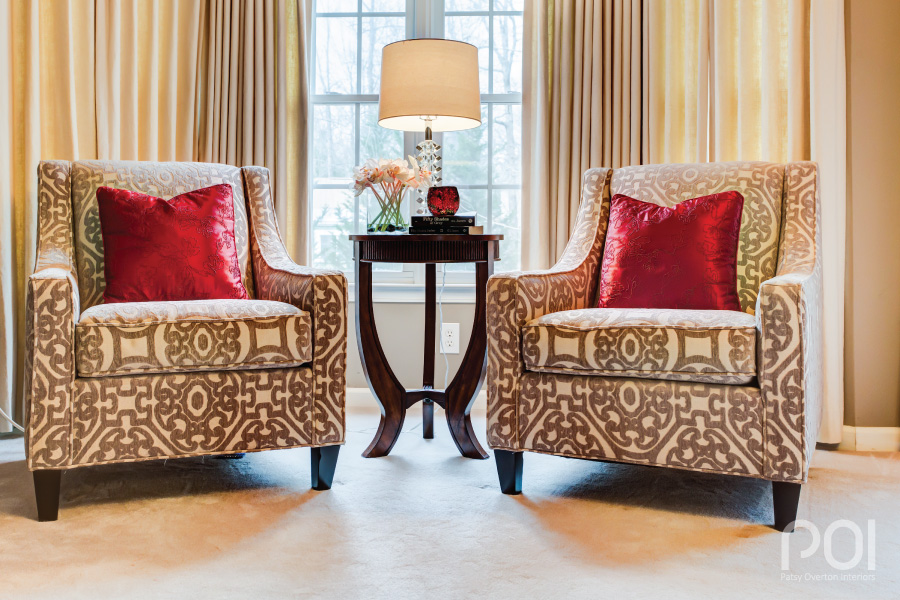
Five easy steps to a bedroom transformation? Well, some of the steps are easier than others, but it’s really not that hard. I’ll walk you through them with illustrations from a recent job and give tips along the way.
I’ll never forget Matt’s desperate cry for help. (I LOVE those cries!) Matt said he had just gone through a divorce. His wife had moved out and he was left with a few odds and ends around the house. His immediate need was to furnish and decorate two bedrooms for his three children and a bedroom for the Au pair. These three rooms had to be completed within a month! No sweat. Mission accomplished.
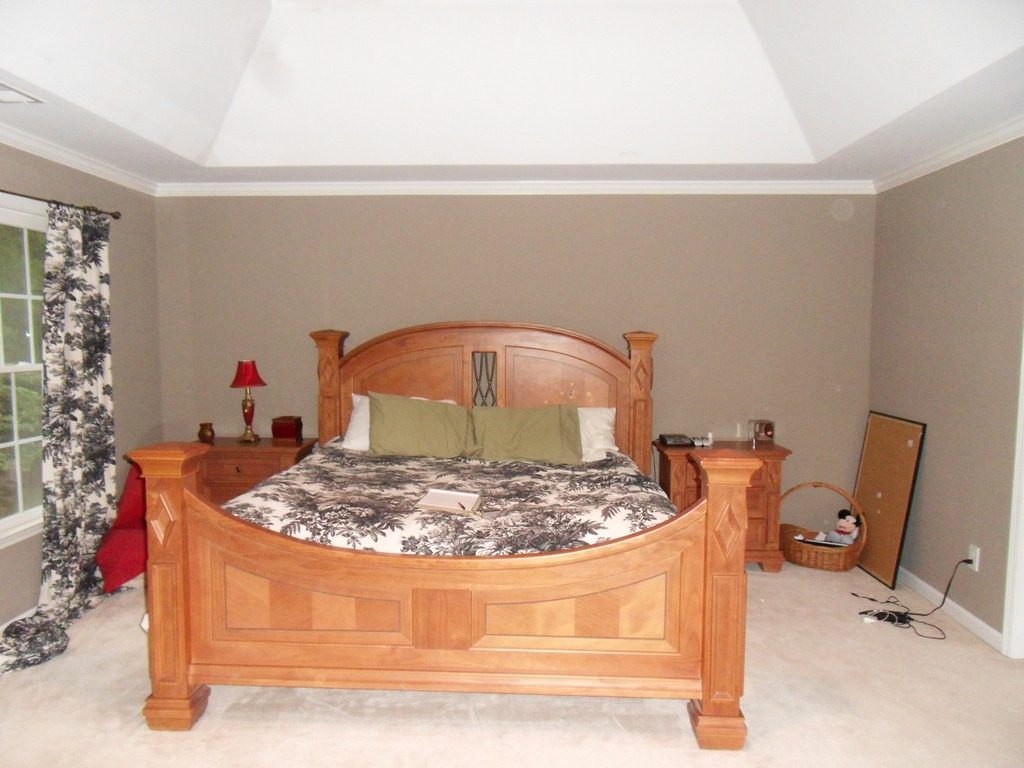
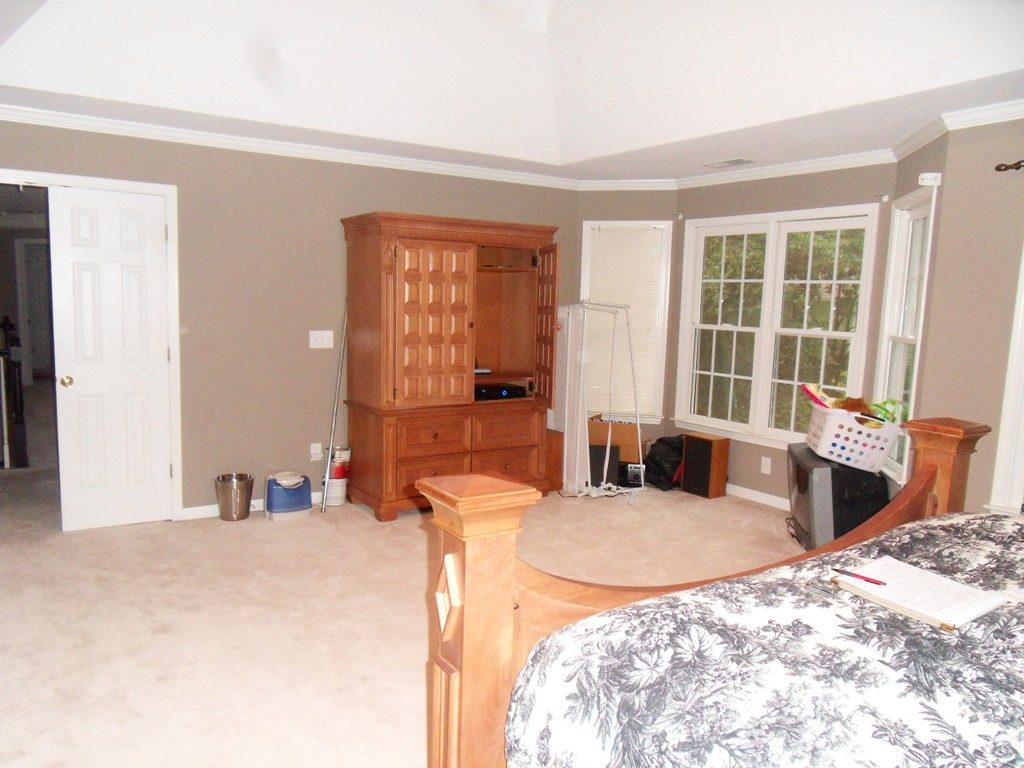
Once we made those rooms lively and livable, he was ready to turn his attention to the master bedroom. Here is what it looked like upon my arrival:
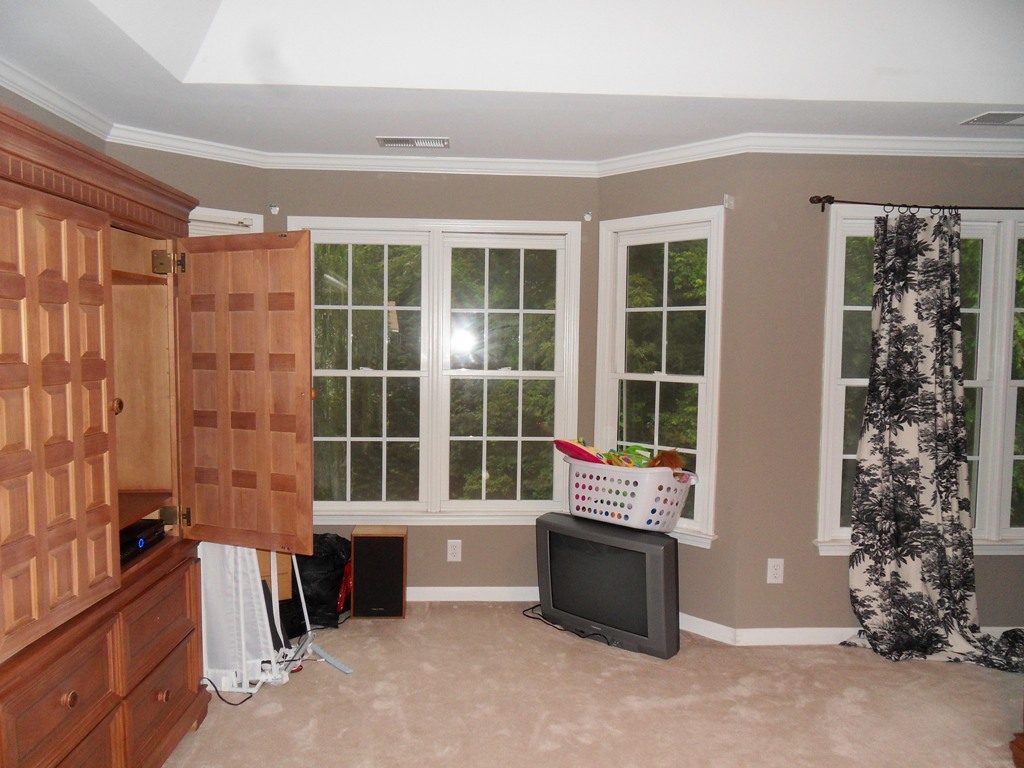 Yes, it was sad. It pains me to think that there are other divorcees out there living like this because they don’t know what to do or how to get started with a redesign. Matt called because he knew he needed help, and I was so happy to be the recipient of the call.
So how did we proceed with transforming this underwhelming room to something Matt would enjoy and be proud of? Here are five steps with tips included:
- Measure the floor space, measure again then measure again. Did I say measure? Yes, this step is CRUCIAL in knowing what will fit into the space. In this case, Matt wanted to purchase all new furniture, so we had to have those dimensions. You will use those dimensions to draw up a floor plan. TIP: There are lots of good freebie online “room planner” software programs you can use. Most major furniture companies have them on their website.
- Come up with an overall color scheme. In this situation, Matt’s bedroom had been recently painted. He and I both were happy with the existing color. It was neutral enough that it would work with most anything we chose to put in the room, so we were good to go. The one thing we did was to paint the tray ceiling the same color as the walls, although in the photos below it looks much lighter. Our color was Anew Gray, SW7030 (Sherwin-Williams). TIP: Anytime a room has a nice architectural feature such as a tray ceiling, you will want to highlight it.
- Purchase the large pieces of furniture. TIP: In decorating and design, you always work from the largest pieces to the smallest. This is true with furniture, accessories and small decorative accents.
- Purchase the largest “color” piece in the room — in this case the bedding — then move on to smaller color elements such as window treatments and artwork.
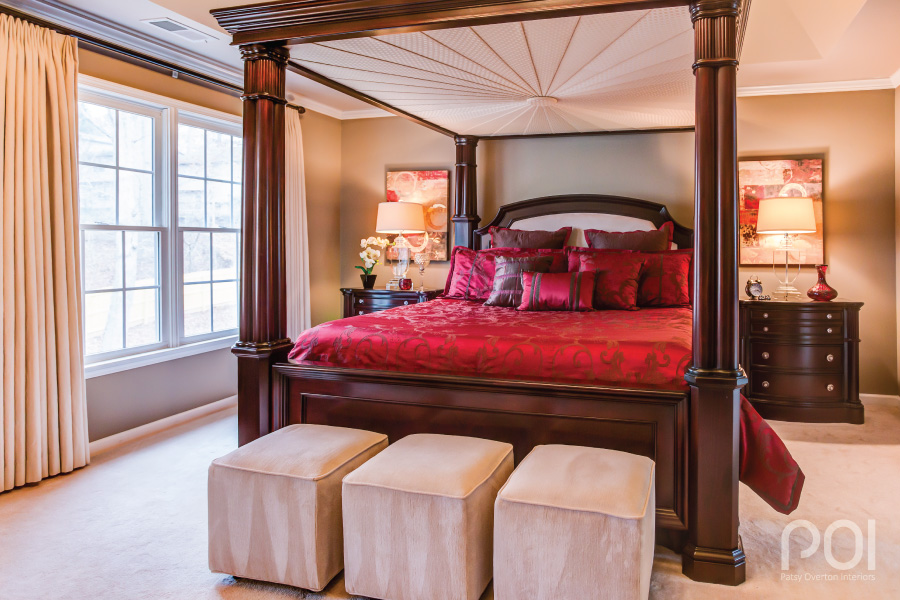
- Add the bling. For Matt’s bedroom we purchased a chandelier to further accent the tray ceiling. (Helpful hint: have the canopy bed delivered BEFORE hanging the chandelier. Once the bed was in, we had to adjust the height of the light fixture.) We also added beautiful crystal lamps for each nightstand and another one in the bay window area. TIP: Lighting is the “jewelry” of the room. It is the finishing touch. Choose it wisely and it will bring the room to life.
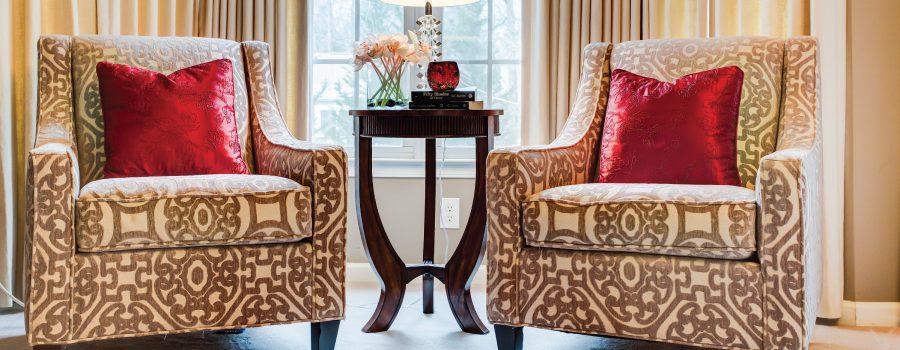
It took a couple of months to pull everything together, but the day finally came for the big reveal. Take a look:
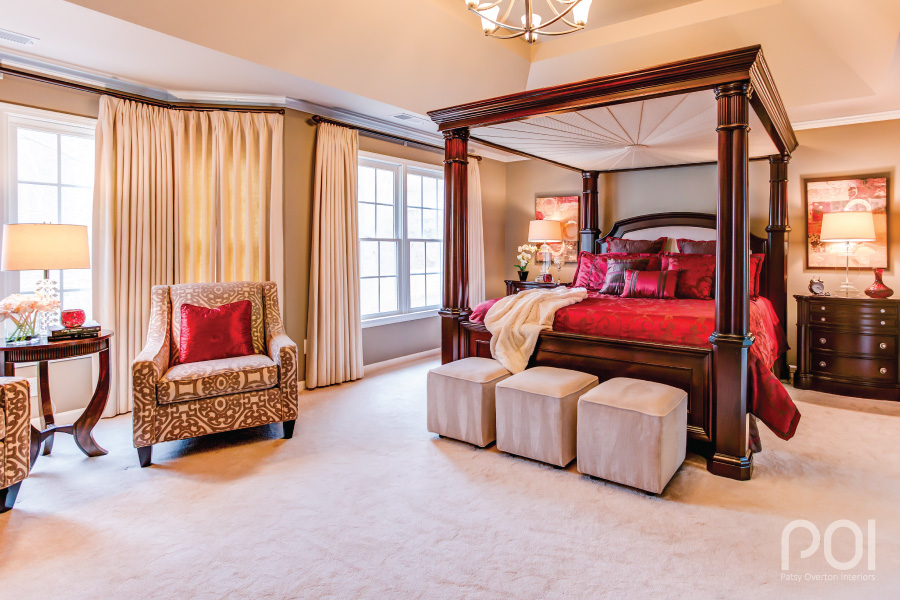 Photos by Jeff Frankel, Kissed With Light Photography.
It’s only in the last picture that you are able to see the chandelier. See how it relates to the lamps on the nightstands and occasional table? Those elements were truly the finishing touches and brought the whole room together. If you would like to see more photos of Matt’s home, go here and click on King Valley.
Matt told me later, “I didn’t realize how much it meant to me to make this place my own until I saw what you had done. Now it’s my home.” Who is next?
