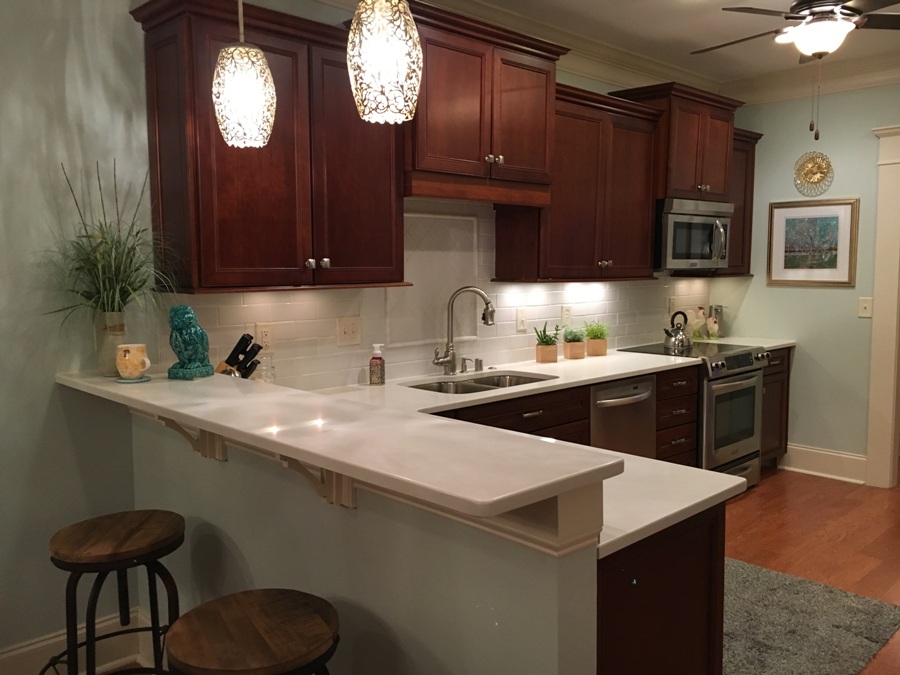
Is there anything more exciting than a kitchen remodel? I don’t think so. Since I have just had mine updated for an early Christmas present, I want to share it with you. Here is the “before” shot:
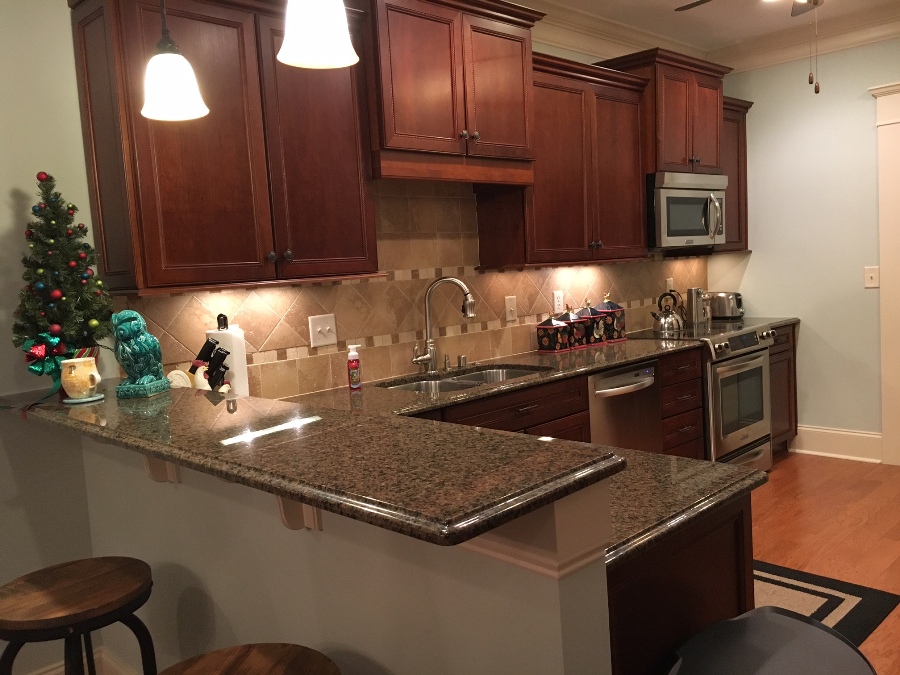 A little over two years ago my husband and I moved into a condo. While we love so many things about it, we’ve discovered that the unit is VERY DARK — especially the kitchen. We have exceptional artificial light, but very poor natural light. Finally it dawned on me — why not remodel the kitchen to make it lighter and brighter? You can only imagine how excited hubby was to hear those words; but, since a happy wife is a happy life, he finally said “ok.” I think the next day I was in the tile store.
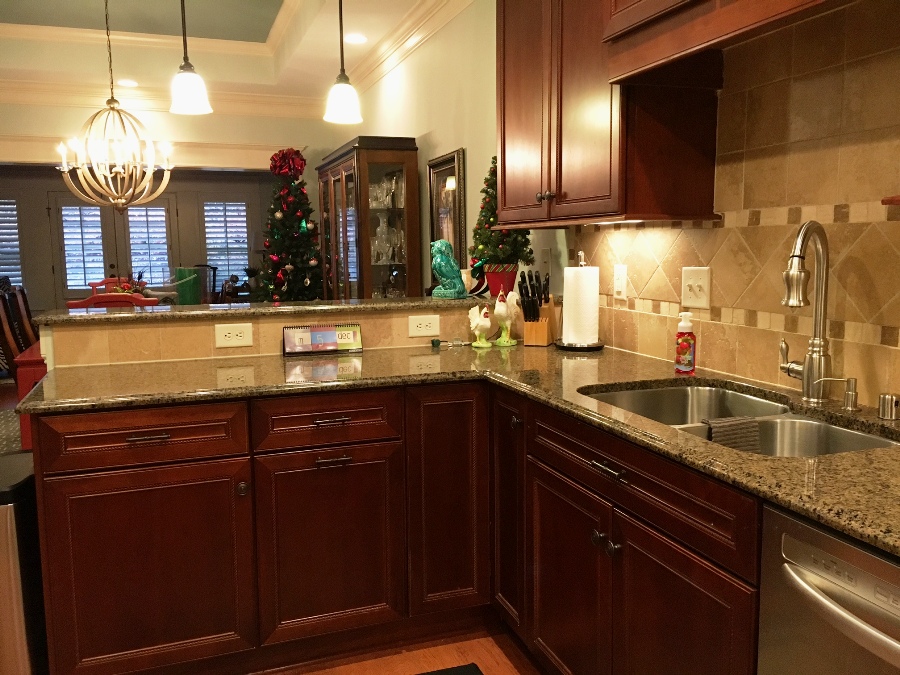 This post is not just about my kitchen remodel, but also to educate you as to the process for such an undertaking. Here it is.
Step 1 – Find a reliable contractor. Mine was AJ Jefferson of Jefferson Remodeling. He stopped by at the outset to take a few preliminary measurements, give me a ballpark price and tell me where to shop. He sent me to MC Granite Countertops in Kennesaw, where they have both granite and quartz. I wanted quartz because I was going for a less busy look than you get with granite. Price tag: $3,866.
Step 2 – Once I made my selection, MC Granite sent out one of their workers to make a template of the counters. In the meantime…
Step 3 – I shopped for tile at Floor & Decor.
Folks, if you’ve never had the pleasure of shopping for tile, feature strips, bullnose coordinates, flooring, grout, etc., you have been blessed. This can be a completely overwhelming experience — even to those of us who do it frequently with clients! There is just so much to choose from. Anyway, the process was easier for me because I knew EXACTLY what I wanted going in. Let me digress.
Several months ago I saw a picture on Houzz of a kitchen with dark cherry cabinets and WHITE counters and backsplash. I said to myself, “That’s it! That’s my new kitchen!” It was so very pretty with the light, bright white contrasted against the dark, rich cabinets. I’ve had that picture in my head since the day I saw it, knowing it was the look I wanted for my own kitchen one day. So, when I shopped for counters and tile, I went straight to the white. (Actually, my selections are off-white. The reason is the trim in my home is very creamy. I knew a bright white would be too “screaming” against the creamy trim. This is one of those things that can trip you up and be a very expensive mistake if you don’t know WHY you need to shop for off-white instead of white. Have questions? Give me a call.)
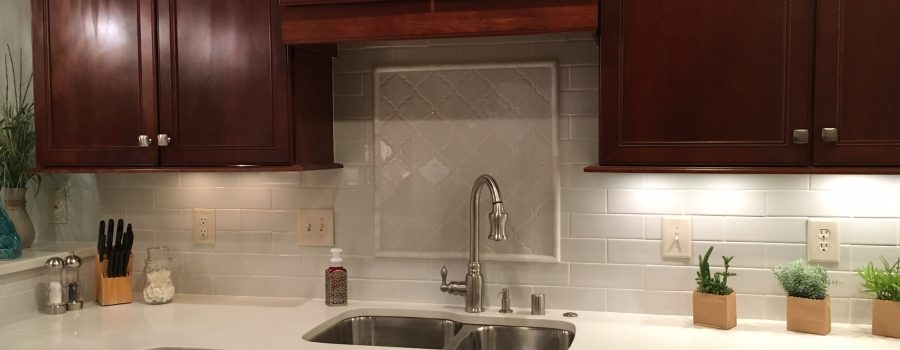
In Floor & Decor I found a subway tile display of EXACTLY what I was looking for in Linen. Then I found a coordinating Linen Arabesque to use as a feature behind the kitchen sink. Price tag for backsplash: $364 plus $400 for installation.
Step 4 – Time to shop for sparkle and bling — my favorite part! I’m speaking of the pendants — the “jewelry” of the kitchen. This was more difficult than I had anticipated. I first went to Progressive — my all-time favorite lighting store — and found several things I liked, but when I measured I found that all the fixtures were too large. The pendants currently hanging in my kitchen were only six inches in diameter and I could only go slightly larger without having to cut holes in the ceiling to reposition the lights, which I didn’t want to do. I finally found myself at Masterpiece Lighting in Roswell and there, with the expert help of Myra, found the PERFECT pendants. Price tag for two: $381. Mama was happy.
Step 5 – Shop for cabinet hardware — another “jewelry” item. You can see in the photo below that the bronze I had before the remodel barely shows up against the dark cabinets. I had my heart set on gold hardware to pick up on the gold of the pendants, but couldn’t find it in the right width to match my existing cabinet holes. I didn’t want to have new ones drilled, so I jumped from gold to stainless. At least the silver tones show up much better than the old bronze. Price tag for hardware: $161.
Next, it was time to see the kitchen transformed before my very eyes.
Step 6 – The Linen quartz counters were installed.
Step 7 – The following day the backsplash was installed.
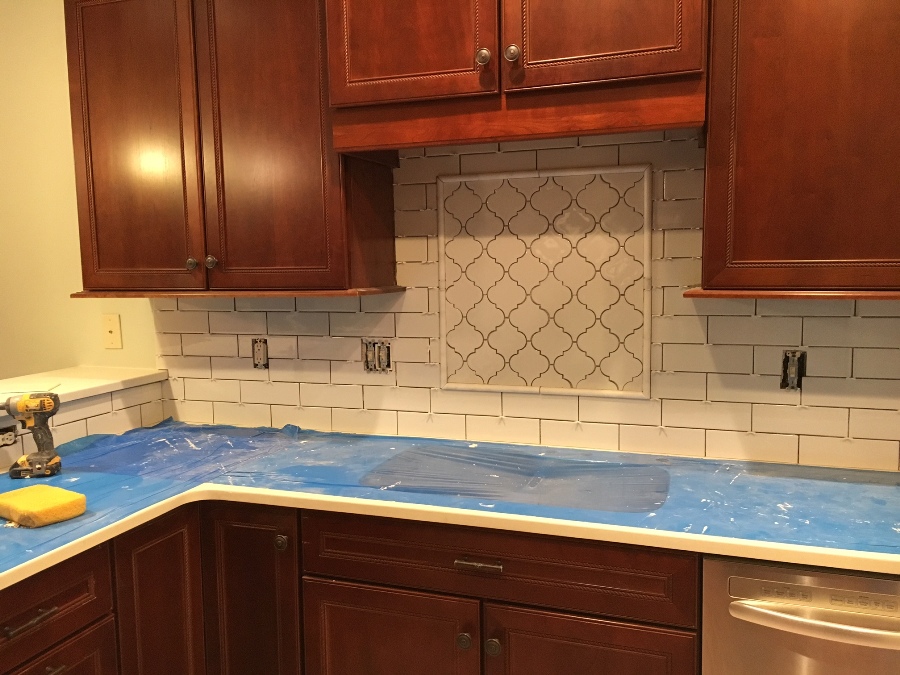 Isn’t that cool how they put all those little spacers in between the tiles to keep everything in alignment? Of course, they still had to grout it.
Step 8 – Bill, handyman extraordinaire who has worked for me personally and also for a number of my clients over the past 25 years, came the 3rd day to reconnect the plumbing (no, the countertop guys don’t do it), shore up the brackets that were straining under the weight of the new quartz on the bar, hang the pendants and install the new cabinet hardware. Price tag for handyman services: $250.
Step 9 – Pay for everything. Here is a recap of the expenses for those who may be thinking of embarking on a kitchen remodel:
- Quartz counters: $3,866
- Tile & grout: $364
- Tile installation: $400
- Pendants (two): $381
- Hardware: $161
- Handyman: $250
- TOTAL: $5,422
This is actually not bad at all for what I had done. Of course, I worked with existing cabinets. If you are going to have yours painted or (gasp) get new, the price will go up considerably.
Step 10 – Enjoying the fruits of my labor! First, here’s a teaser shot of my coffee bar.
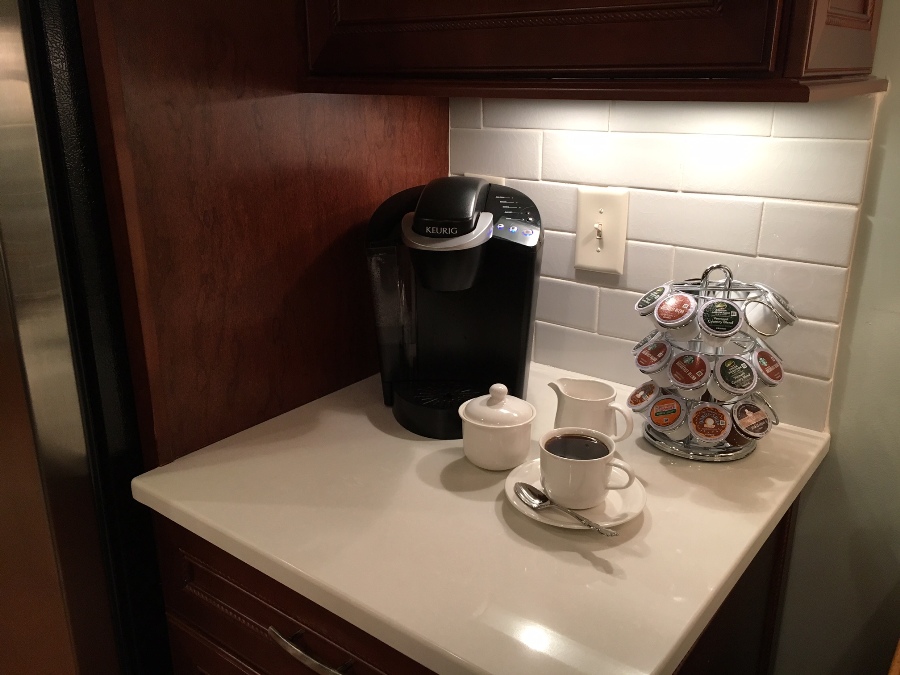 I used to keep all my junk there, but not in my pretty, clean, white kitchen! No, sir!
Here is the “before” once again.
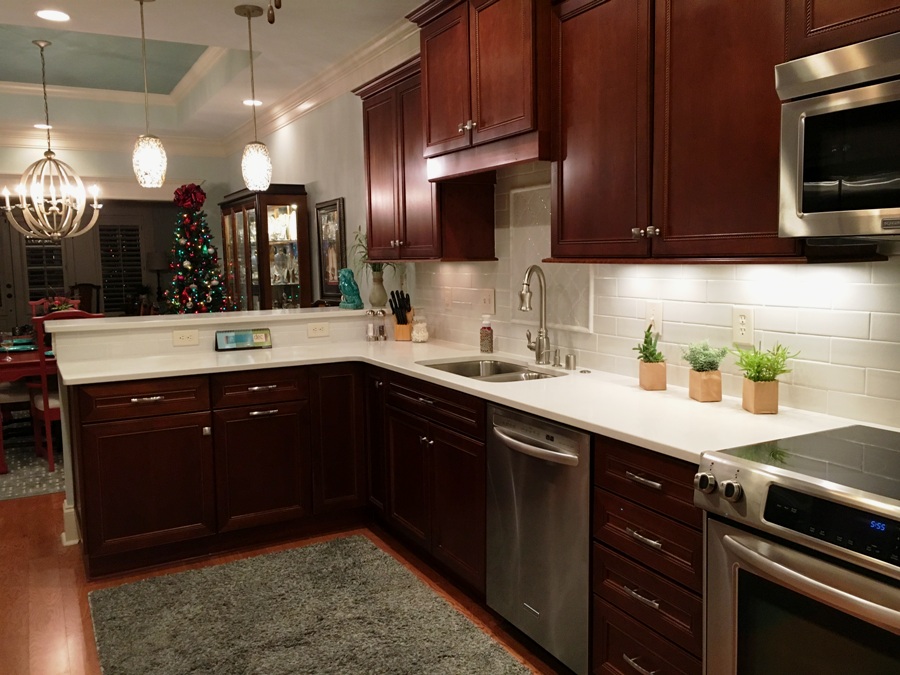 I’m ecstatic with the results; mainly because I accomplished exactly what I set out to do — lighten and brighten a very dark kitchen.
I hope you enjoyed my kitchen remodel journey. Thanks for letting me share it with you. And if I can help you with yours, give me a call.
Merry Christmas!
